How To Blog Post SEO Correct On WordPress
- Navigate Via Website
- Create post/ Copy & paste the article. You can create a new article or paste an existing one.
- Scan The Article- Make sure to skim through the article and correct any mistakes.
- Check Jetpack (social media) & SEO Yoast – Make sure all these plugins are available to use with your article. To learn how to set up jetpack for wordpress visit https://jetpack.com/support/installing-jetpack/ . To learn how to download yoast on WordPress visit https://kb.yoast.com/kb/installation-guide-for-wordpress-seo/ .
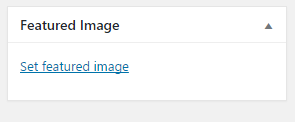
- Add Featured Image- Upload a photo related to the article. This image should be named after the focus word under ALT Attribute .
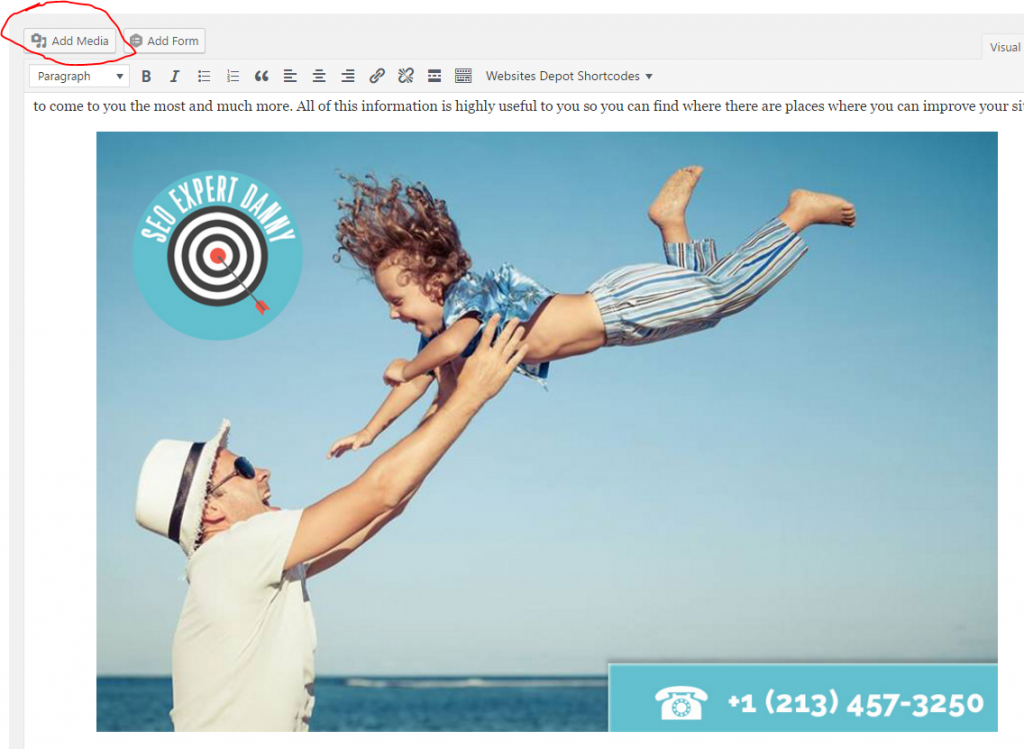
- Add a secondary image- This image should be located in the article, between the second to last paragraph in the article (2 images per 400 words per page). Part of the image should be before the fold. The fold refers to the web-page that is still visible without needing to scroll. This image should also be named after the focus word ( the word you are trying to rank for) in ALT Attribute .
- Add Hyper Links- Add a related hyperlink with the settled URL to your landing page, service page. In this case, you want to hyperlink a keyword that you are trying to rank. For example, “SEO website audit,” is the keyword you want to rank for. So you will link that keyword to a landing page or service page related to the topic.

- Add Sub Headings (h2-h4) – These headings work as an intro to the paragraph and should be strategically worded to also help your page rank. For Example, “an expert to perform the audit”
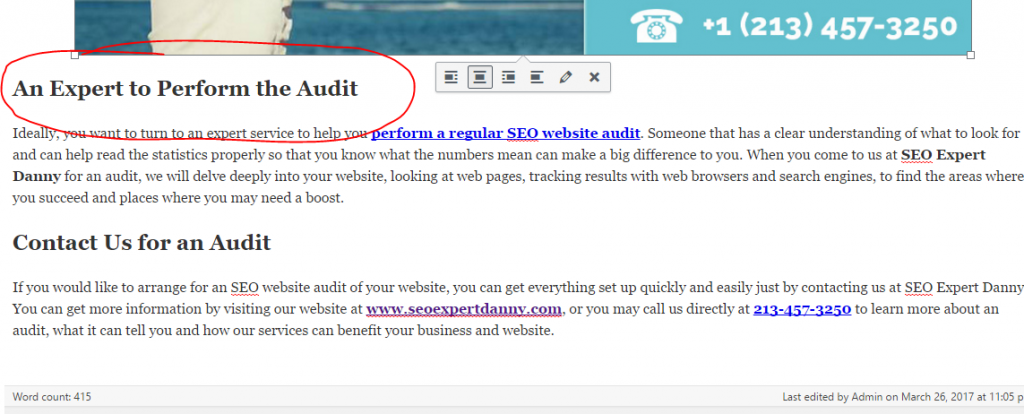
- Create a call to action area – This is usually towards the end of the article. This is where you introduce the business’s contact information. For example, “for more information visit our website seoexpertdanny.com or you may call us directly at 213-457-3250.”

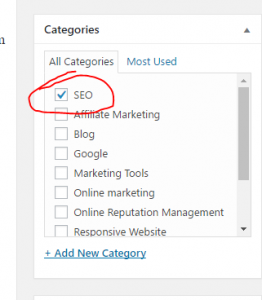
- Tick Correct Category (up to 3 max, min 1) – Select one category that relates to the article. A category would be a broad description.
- Select correct tag – Here you can add one tag that best describes the article.

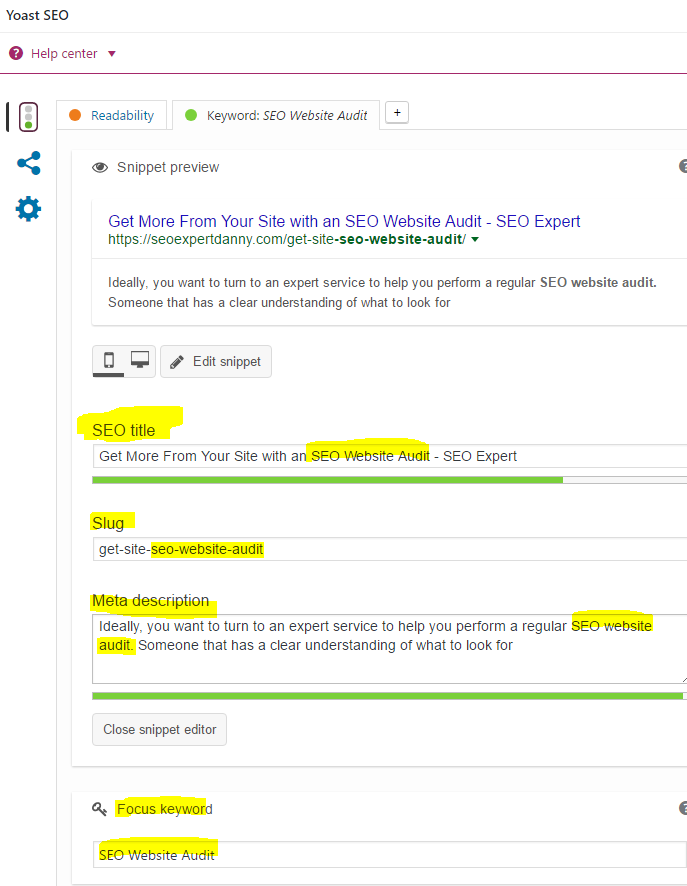
- Fill In SEO Yoast Area. –This plugin for WordPress is used to help you make sure SEO is being done correctly. Your overall goal is to make sure all areas are filled accordingly to how you want your page to rank. Here, you want to make sure to add your focus keyword (the keyword you want your page to rank for), meta description (the short description that appears on Google search), SEO title, and slug ( which will be the link to your website). All these descriptions should include the focus keyword. For example…
- Set up publicize area with hashtags – This area is located in the Publish section under This is where you can add a description along with #hashtags, that will upload once blog is posted, to the desired social media pages that you have linked to your account. To learn more about how to set up jetpack on WordPress visit https://jetpack.com/support/installing-jetpack/
- Publish/schedule – check for any mistakes, post/schedule for a specific date, then look over the article again.
- CHECK MOBILE AND DESKTOP FRONT END OF THE SITE. Share your article with others on Social medias, bookmarks and Web 2.0 Properties.
Contact SEO Expert Danny today!! (213) 322-0770