Moving the Shipping Rates in Woocommerce Checkout

We were initially tasked with a client’s request to have their Woocommerce checkout converted over to look like a Shopify style split checkout. As you may know, they are drastically different, and requires a bit of custom woocommerce development. There are many issues that need to be solved just on the functionality side. I won’t go into the full details of how I achieved the whole process, as it would take a long time. What I will go over in this post is what I considered to be one of the toughest parts of the process – moving the Shipping “selection” radio buttons to another location. During the process, I quickly discovered that Woocommerce does not like this, and you’ll also run into AJAX issues when the fragments refresh. I do know that the Woocommerce team is drastically changing their checkout process, so I should note that this was accomplished with the current latest versions of WordPress (4.5.3) and Woocommerce (2.6.4). Future versions may need modifications.
First, we’ll start by copying over review-order.php to our child theme. It can be found in the /plugins/woocommerce/templates/checkout folder. Copy that into your child theme at: childthemenamehere/woocommerce/checkout/review-order.php. This file contains code for the “Your Order” box. Since we’re moving the Shipping Options radio buttons, we need to remove them from here and add a simplified version that just shows a line for “Shipping” and the cost.
Now, we need to make a few changes to this file. For this, you’ll need to look around line 70 for:
if ( WC()->cart->needs_shipping() && WC()->cart->show_shipping() ) :
We’ll add the following code beneath that line:
A few lines below, you should see a line that needs to be commented out:
wc_cart_totals_shipping_html();
Next, we’ll be creating a new file in childthemenamehere/woocommerce/checkout/ named shipping-order-review.php. This file will serve as the replacement for the shipping functionality that we moved in the first step. This is also needed for the fragments to behave properly when AJAX is run. We’ll be hooking into this file shortly. Drop the contents below in there.
Lastly, we need to add some functions to our functions.php file in order to tie it all together. In my code, I have attached the new table for the Shipping Options above the customer information. This is strictly to show that it has been moved completely away from the “Your Order” box. Feel free to look at the code and drop it wherever it suits you best. I have purposely added the text “My Shipping Stuff Here”. This is as a placeholder until you get everything up and running. Once you’re good, feel free to remove that text.
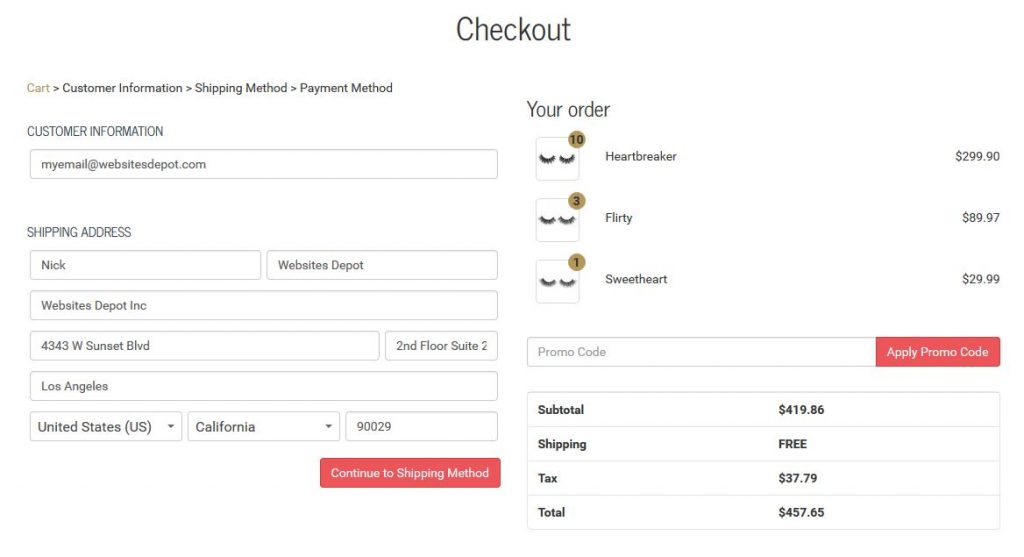
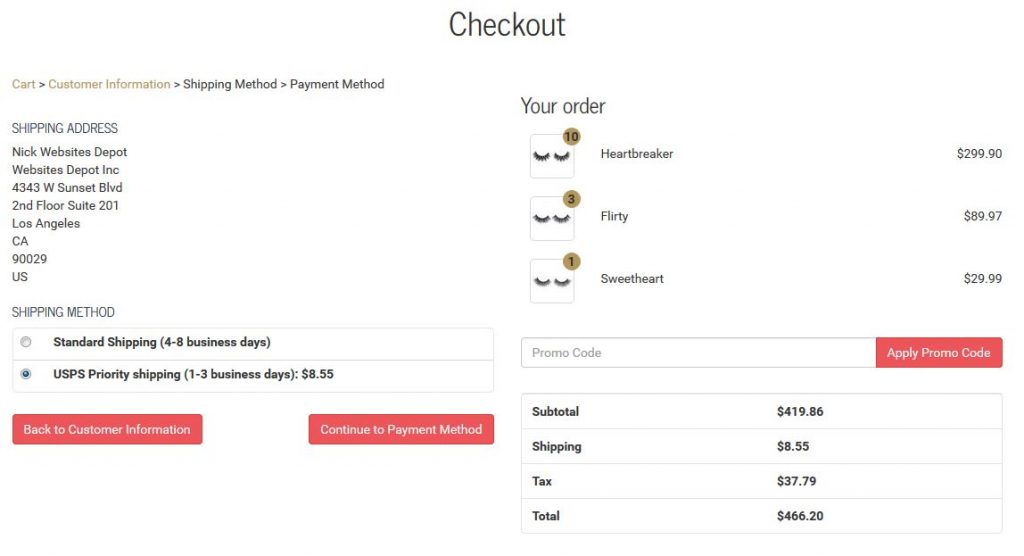
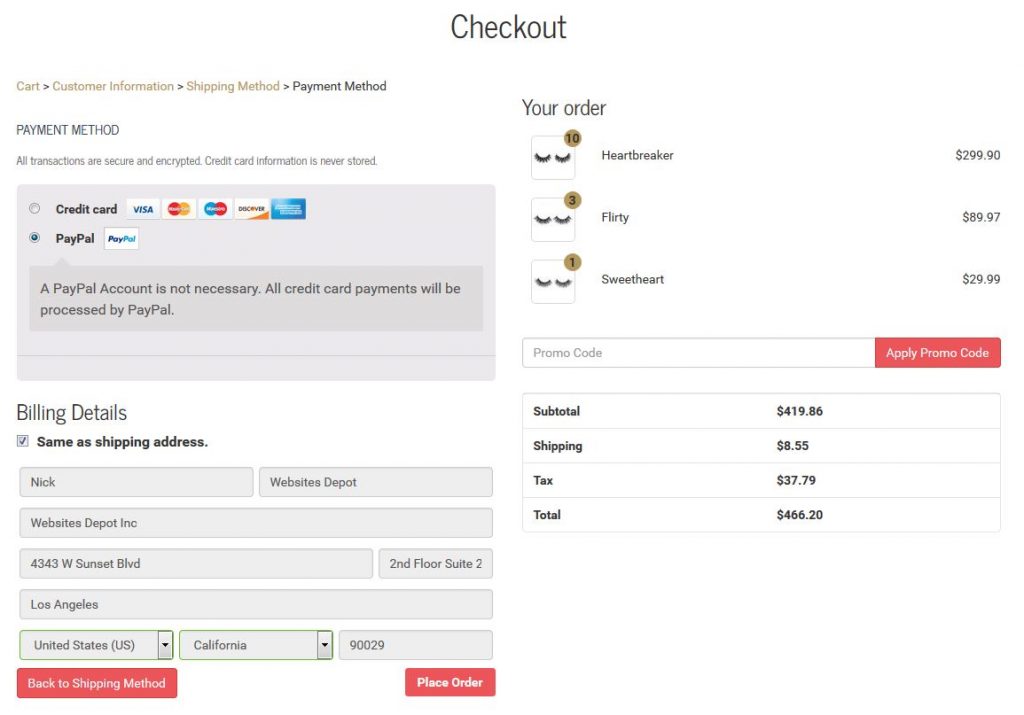
Below are some screenshots of what we accomplished for our client using this method, as well as a bit more custom modification on our part. Got some custom e-commerce development needs? We love all things E-commerce, so give us a call at (323) 912-1125.


